
Gluten-free Cakes 101 - Pt 1 Baking & Building
By Chef Lori Grein.
To celebrate our 30th Birthday, I’ve created a series of blogs packed full of tips on how to create cake masterpieces, from the most basic to the exquisitely elaborate using our mixes.
This Part 1 is everything you need to know about which gluten-free mixes to use and how to build tiered cakes. While avoiding common cake-baking pitfalls.
In Gluten-free Cakes 101 - Pt 2 Icing I go over potential icing mishaps and the tips and tricks to end up with a smooth finish.
Be sure to look out for the new birthday cake recipes I’m also creating each month. Baked for sharing, allergic or not. Bookmark these beauties and add them to the family’s favourites.
 |
 |
 |
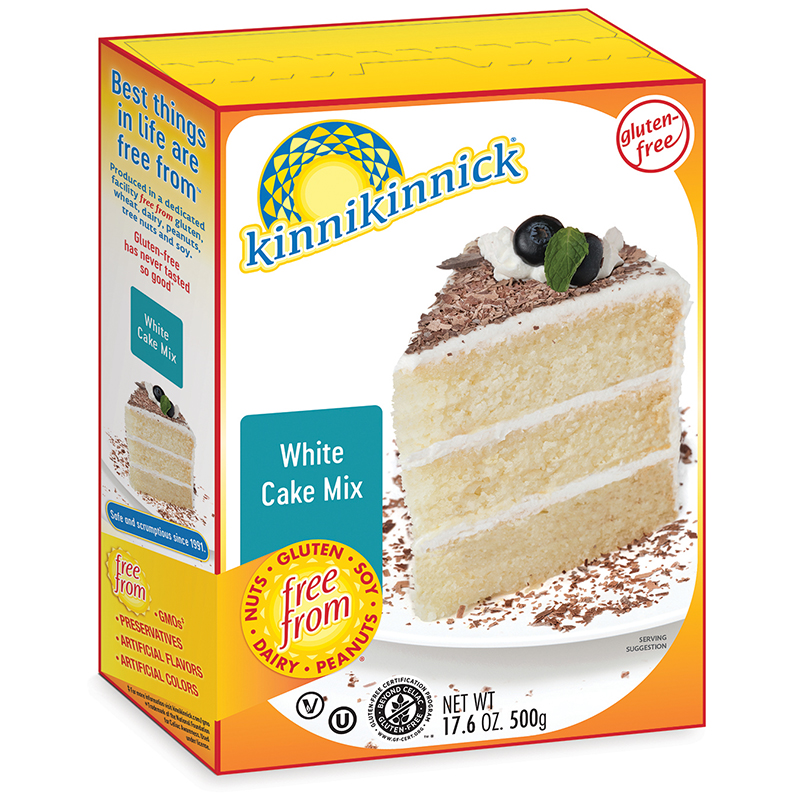
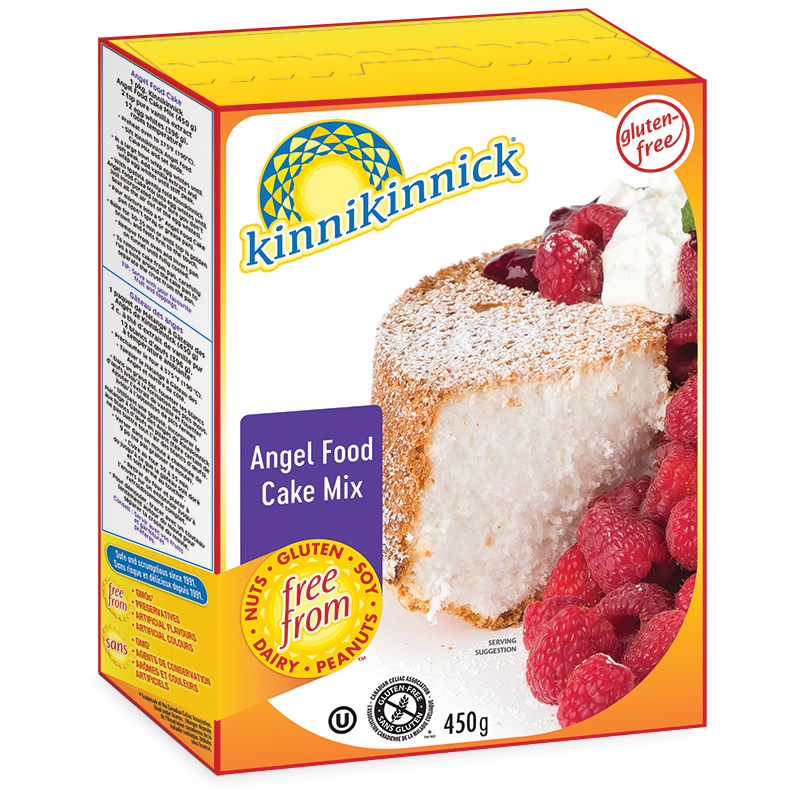
Kinnikinnick Cake Mixes
You won’t believe how quick and easy yet scrumptious our cake mixes are. So you can spend time on the fun part. Decorating.
Mix Type
Choose from Chocolate, White and Angel Food Cake Mix. You can switch it up by adding your favourite flavours/essences into the mix. Or cookies like KinniToos ®, chocolate chips, candied fruit; the mixes are as versatile as your imagination.
Our mixes create a soft, spongy structure with an even crumb. They hold up really well, making slicing and structuring easy.
 |
 |
 |
Greasing the pan
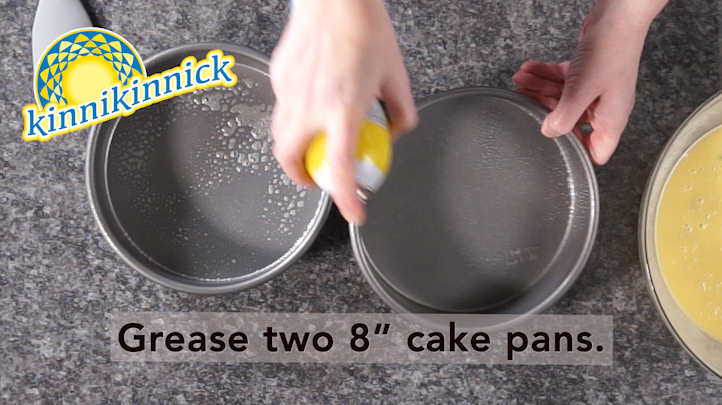 |
For White or Chocolate Cake Mixes you must grease the cake pans or muffin cups. Any method does the trick: butter and Kinnikinnick All Purpose Flour Blend; cooking spray; shortening; a thin coat of vegetable oil. DO NOT grease the pan for Angel Food Cake Mix. Angel food cake needs to cling to the side of the inner flute and outer pan during baking. This helps create its structure. |
Batters
When mixing Kinnikinnick cake batter, follow the directions carefully either on the box or the recipe.
Remember to spread the batter evenly in the pan to create a flat top on your end product, especially if you have a convection oven which tend to make the tops of the cake uneven. A quick and simple tip is tap your cake pan or muffin tray on the counter to even out the batter.
Do NOT do this for Angel Food Cake, it takes the air out. Instead, use an offset palette knife to spread batter evenly in the fluted pan.
Baking
For best results, bake cakes and cupcakes on the middle rack using bake setting. Don’t use a convection oven.
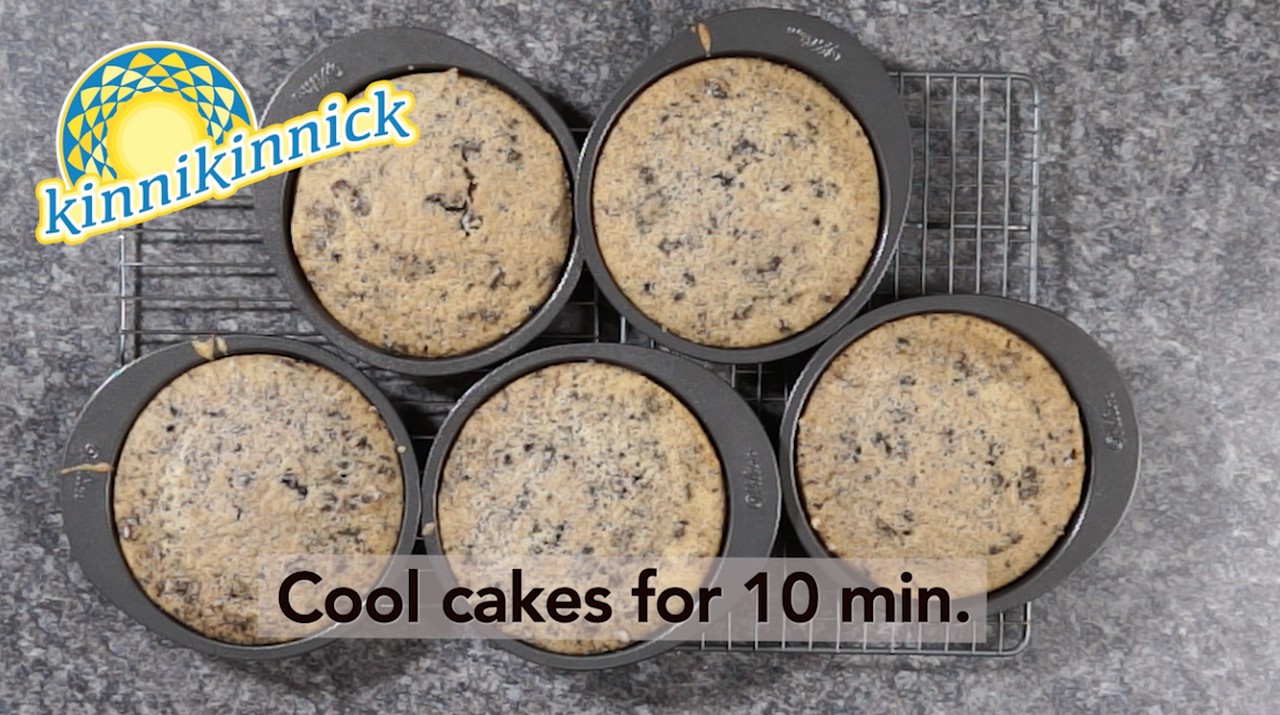
Cooling
It’s important to let cakes cool slightly for about ten minutes before taking out of the pan. This helps keep the structure and stops it sticking to the pan from the trapped heat.
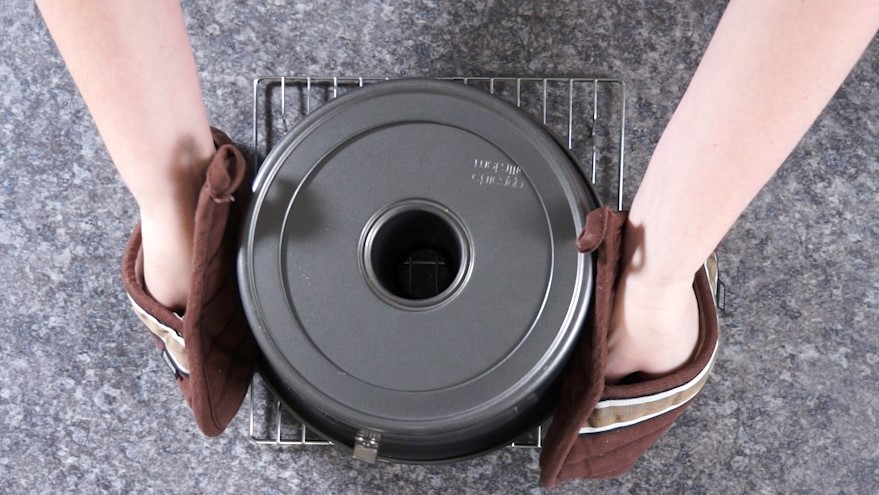
Once cooled, invert the pan and give it a light tap on the counter. You may need to run a palette knife around the outer edge. Invert the pan and press down slightly on the base. The cake should release easily.
- Always cool Chocolate and White Cakes top-side-up.
- Cool Angel Food Cake top-side-down, I.E inverted.
- Cakes should be completely cool before slicing.
 |
 |
| Always cool Chocolate and White Cakes top-side-up. | Cool Angel Food Cake top-side-down, I.E inverted. |
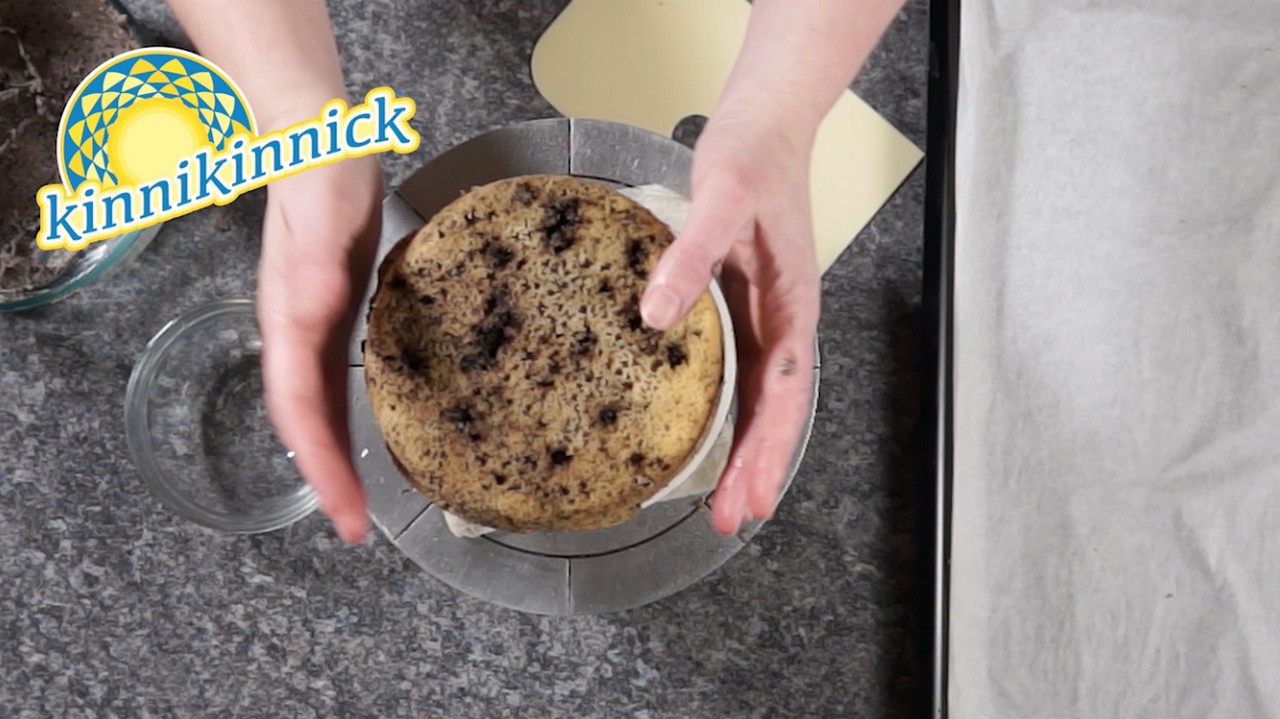
Building Cakes
To successfully build cakes here’s how to create even, moist layers that stack straight, ready for your icing artistry.
Before you start
It’s good practice to get all your equipment ready to go before you start building. My must-have tools are a small and large offset palette knife, large flat scraper, a couple of piping bags and a star tip. I also like to keep a wet towel beside me so I can keep everything clean.
Work Station
It’s so much easier to cut and decorate cakes on a turntable if you have one, or Lazy Susan.
 |
 |
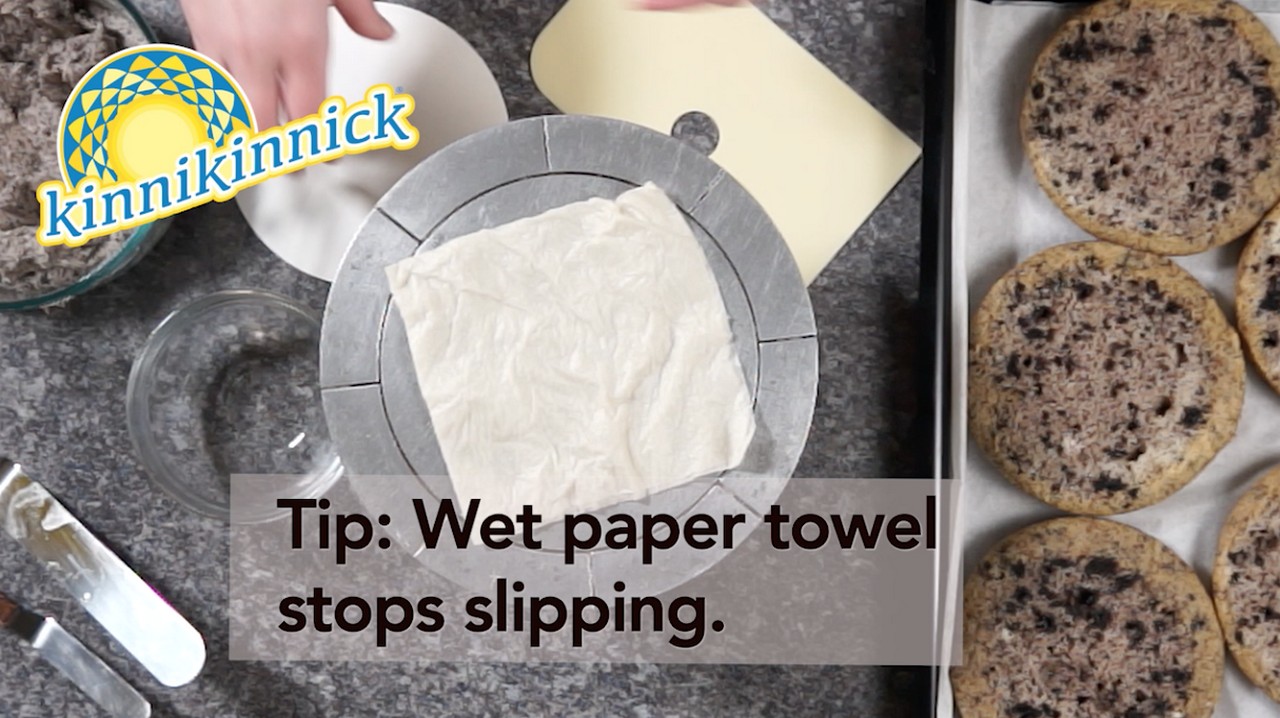
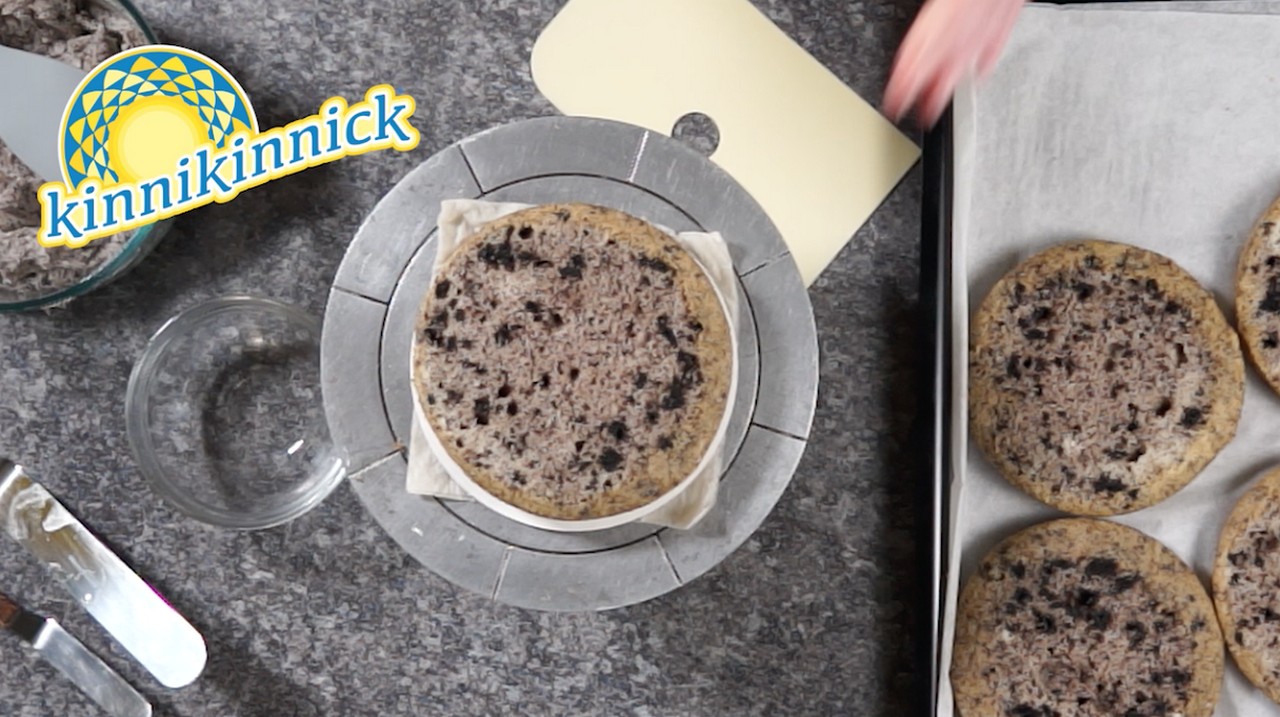
To stop the cake slipping on turntable, wet a small piece of paper towel in the centre and stick your cake board on top. Dap a dollop of icing onto the board to stick the first cake layer to it and stop it moving off centre as you work.
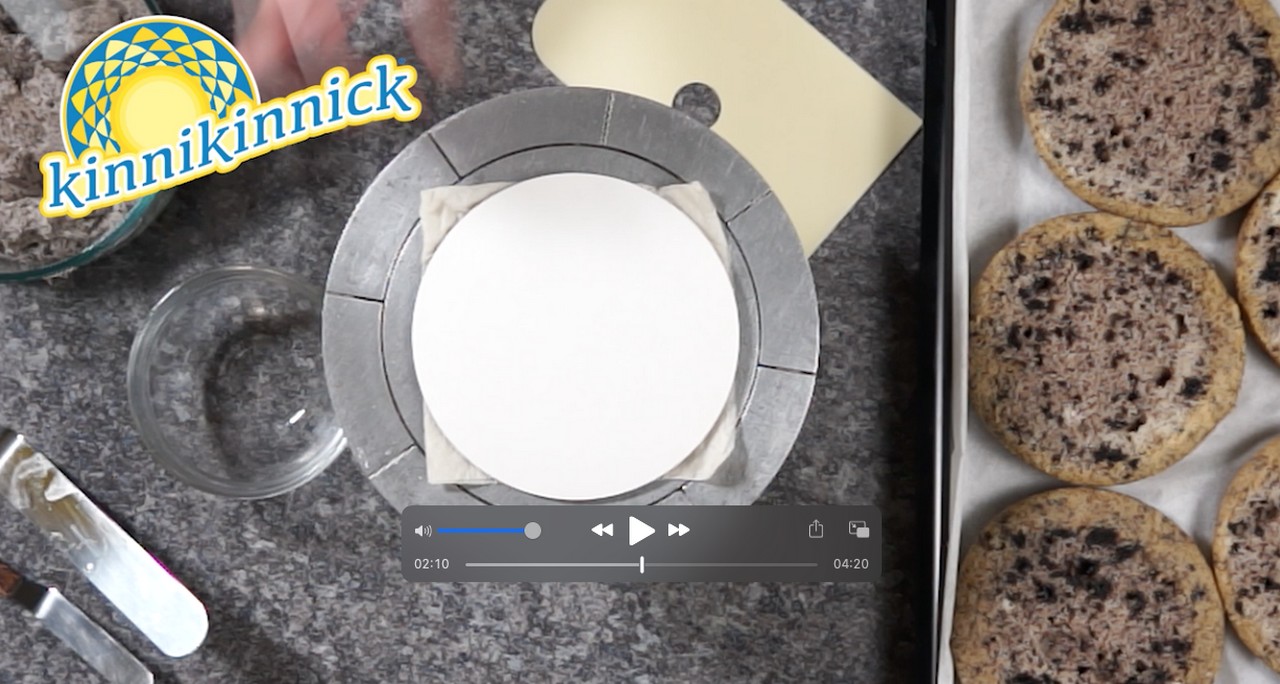
Cutting Cake Layers
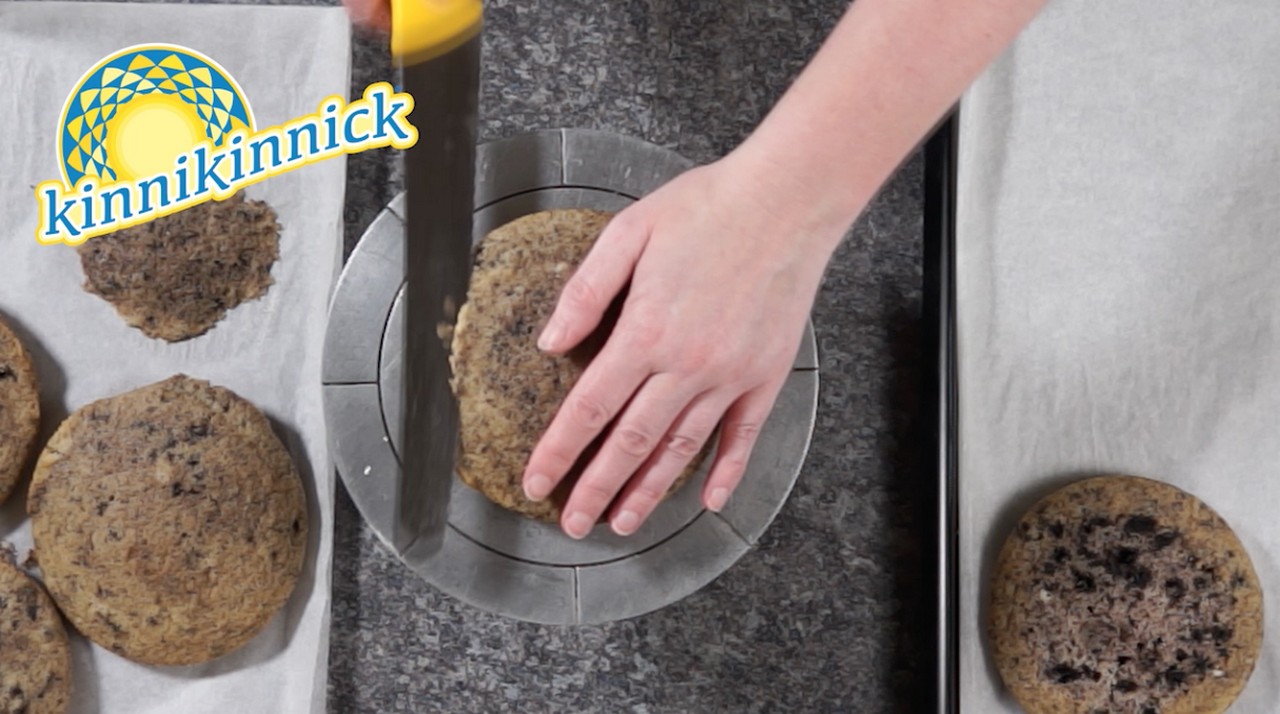 |
The easiest way to end up with even, equal cake layers is trim the tops off. Run a serrated knife along the outer edge of the lowest part of top layer. Mark it all the way round the outer edge, then slowly work towards the centre of the cake, turning the table continuously. |
If you’re cutting one larger sponge in two, create a knife-mark guideline around the middle of the cake and slowly work from the outside in towards the centre, turning the table continuously. Following a guideline reduces the chances of pulling the knife upwards or unevenly as you slice through.
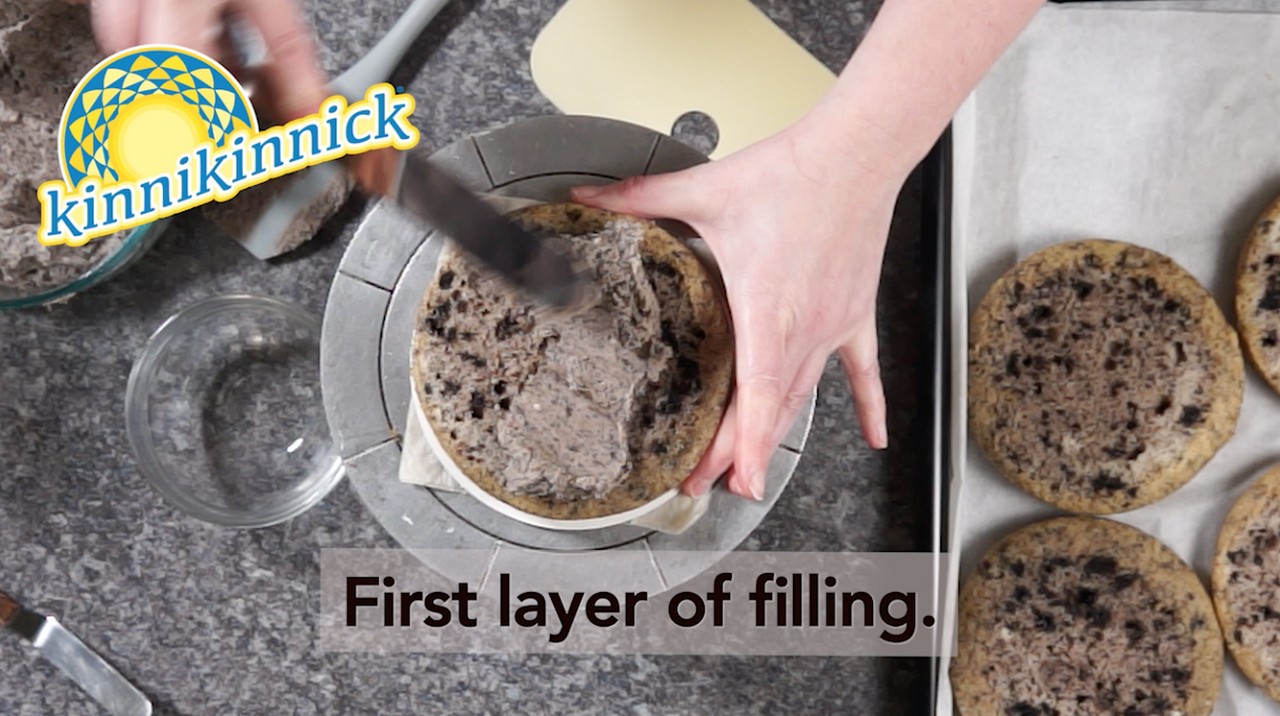
Build your cake by adding a layer of icing between each sponge. Moisten each sponge with a spray of simple syrup. Always lay the trimmed side of the sponge face up, layer it with icing to even it out before adding the next layer. Keep going that way until the last, final layer, which is best to lay flat side upwards for the smoothest top.
 |
 |
 |
Now you're ready to ice this baby. Check out Pt 2 Icing of this series for all the do's and don'ts of icing 101.